

So What Actually Are Microgreens?
First things first. Microgreens are not sprouts. Sprouts are germinated seeds you eat root and all, grown in water, while microgreens grow in soil (or a grow mat) and get snipped at the stem once the first true leaves appear. They're basically the middle child, sitting somewhere between a sprout and a baby green.
As for the health benefits, hold on to your hat because this is going to blow your mind. Microgreens contain anywhere from four to 40 times the nutrient concentration of their full-grown counterparts! That means a small handful of red cabbage microgreens is packing a pretty impressive amount of vitamins C, E and K compared to the mature version you'd throw in a slaw. They're a legitimately efficient way to add antioxidants, minerals and phytonutrients to whatever you're already eating.
What to Grow First
Radishes are the gateway drug of the microgreen world. They germinate in two to three days, are nearly impossible to kill and deliver a satisfying peppery bite that works on everything from avocado toast to ramen. Sunflower microgreens are equally forgiving and have a mild, nutty flavor that even picky eaters won't fight you on. Pea shoots are the crowd favorite for anyone who wants something that tastes sweet and fresh.
Once you've got those down, broccoli microgreens are worth the slightly longer grow time. They have a mild, grassy flavor that disappears into whatever you're making while doing more nutritional heavy lifting than anything else on this list. Basil and cilantro are fun but finicky, so save those for round two when you're feeling as confident as someone who finished one Duolingo streak and is already planning their trip to Paris.
When you're ready to up the aesthetic, beet microgreens add a gorgeous deep magenta color to anything you plate and taste earthy and mild enough that they get along with almost everything.
Supplies to Get Started
The setup is minimal enough to fit on a sunny windowsill or under a cheap grow light. You need a shallow tray (a standard 10x20-inch nursery tray works perfectly), a growing medium like coco coir or a hemp grow mat, seeds and something to water with that won't just blast everything sideways. If you want to throw on a pair of overalls and go full farmer mode, have at it!
Fill your tray with about an inch of moistened growing medium, scatter seeds densely and evenly across the surface and then press them down gently so they make contact. Cover the tray with another tray flipped upside down for the first few days to create darkness and humidity, which is called the blackout period (a totally different blackout period than your college days). Once you see good germination, remove the cover and move the tray somewhere it gets about six hours of light daily.
The Fun Part
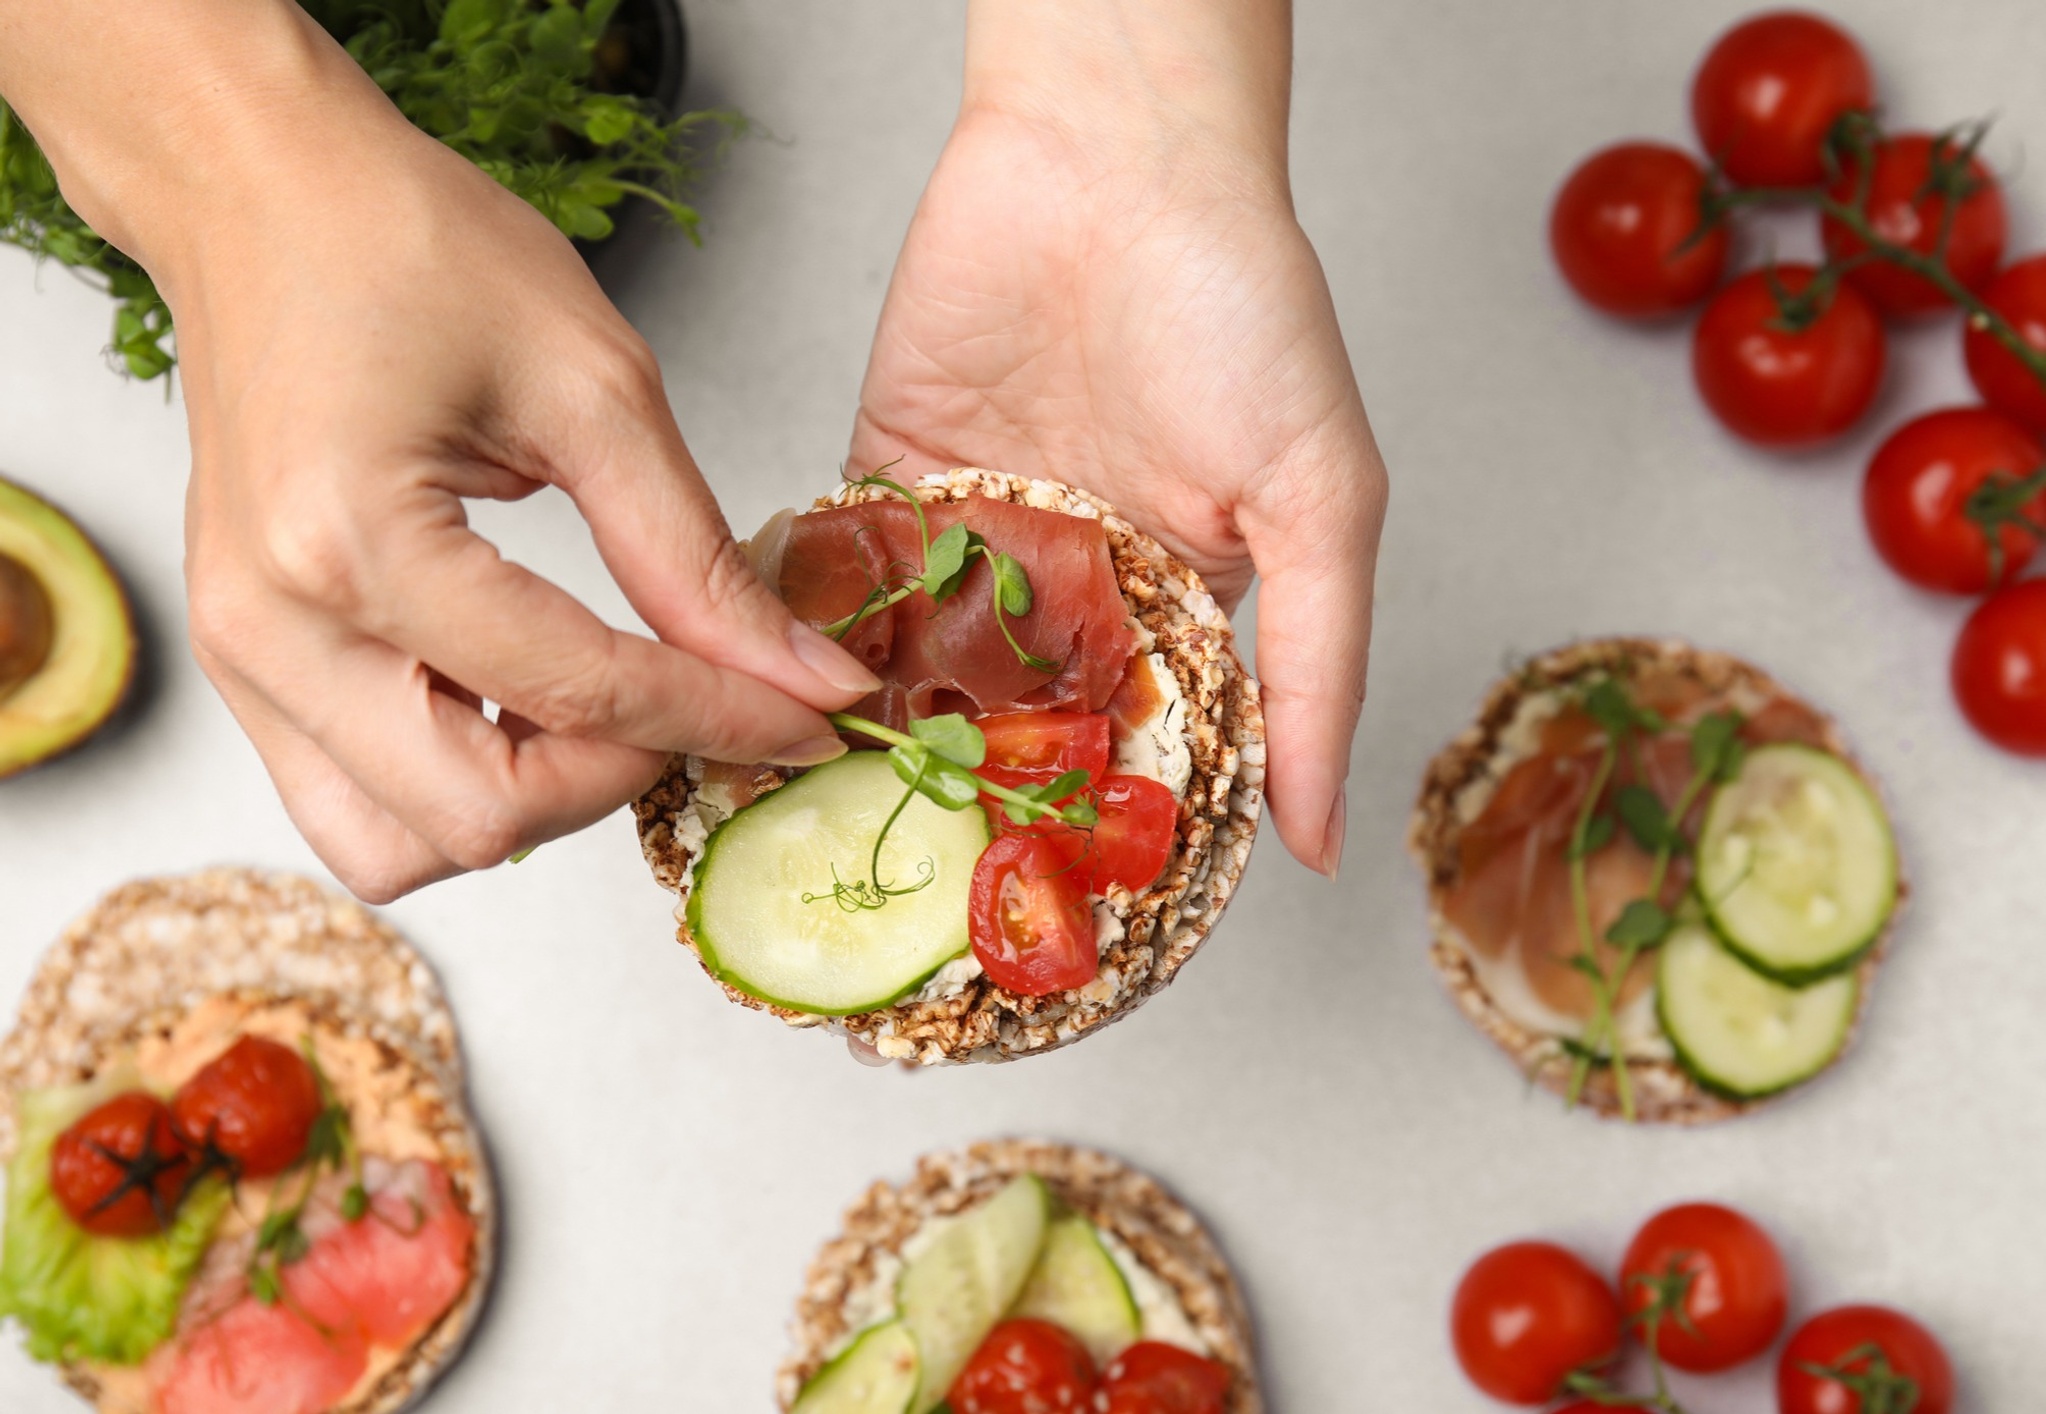
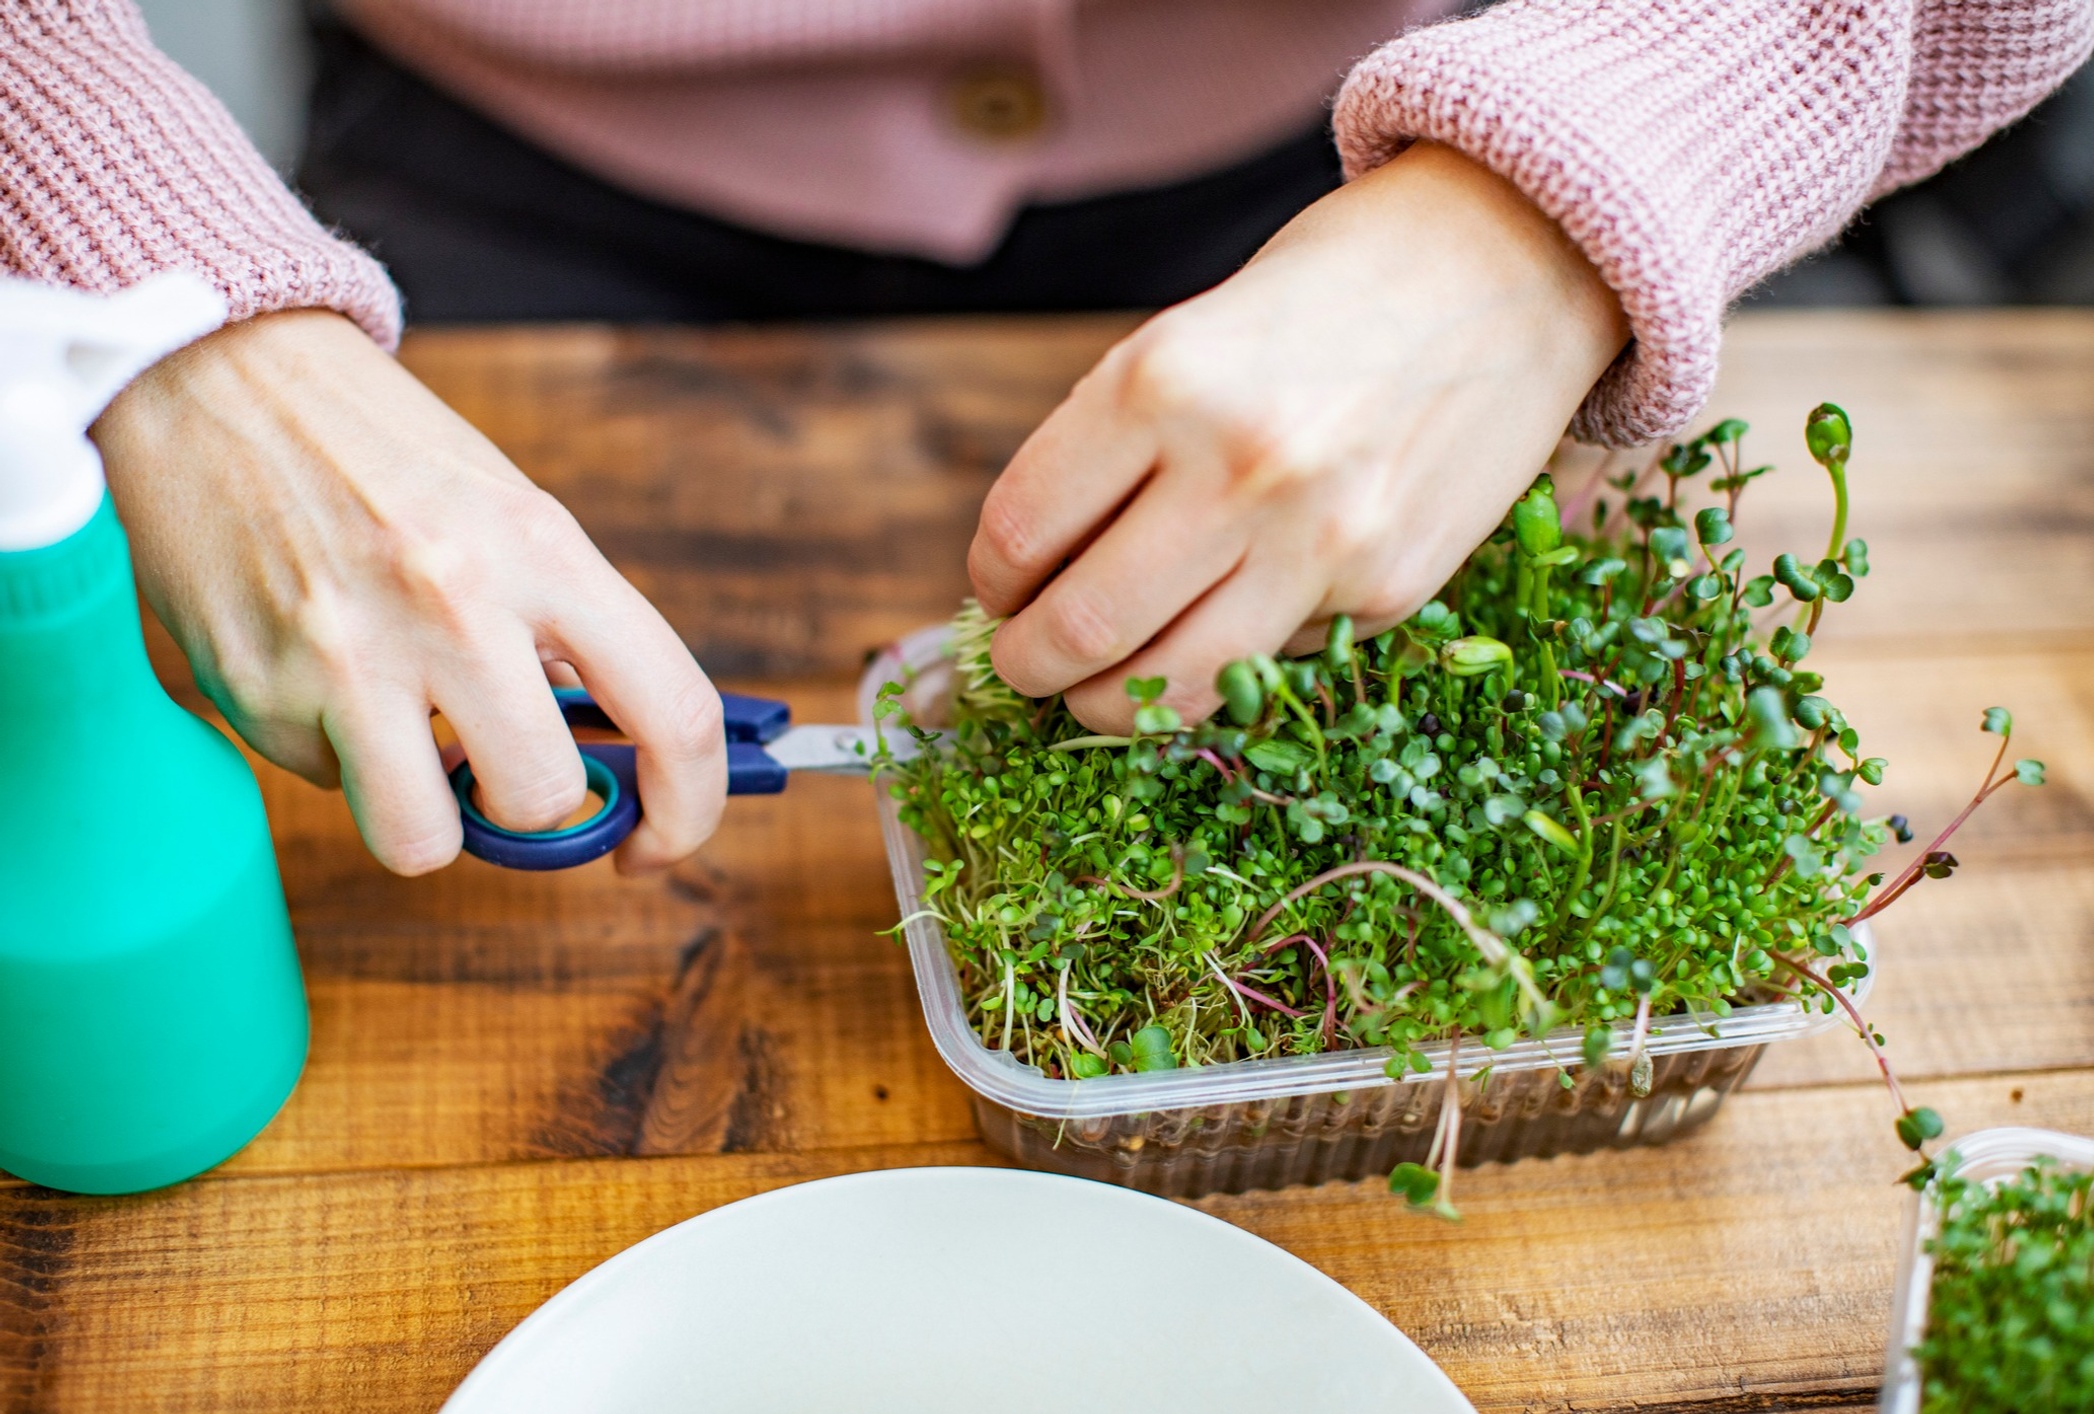
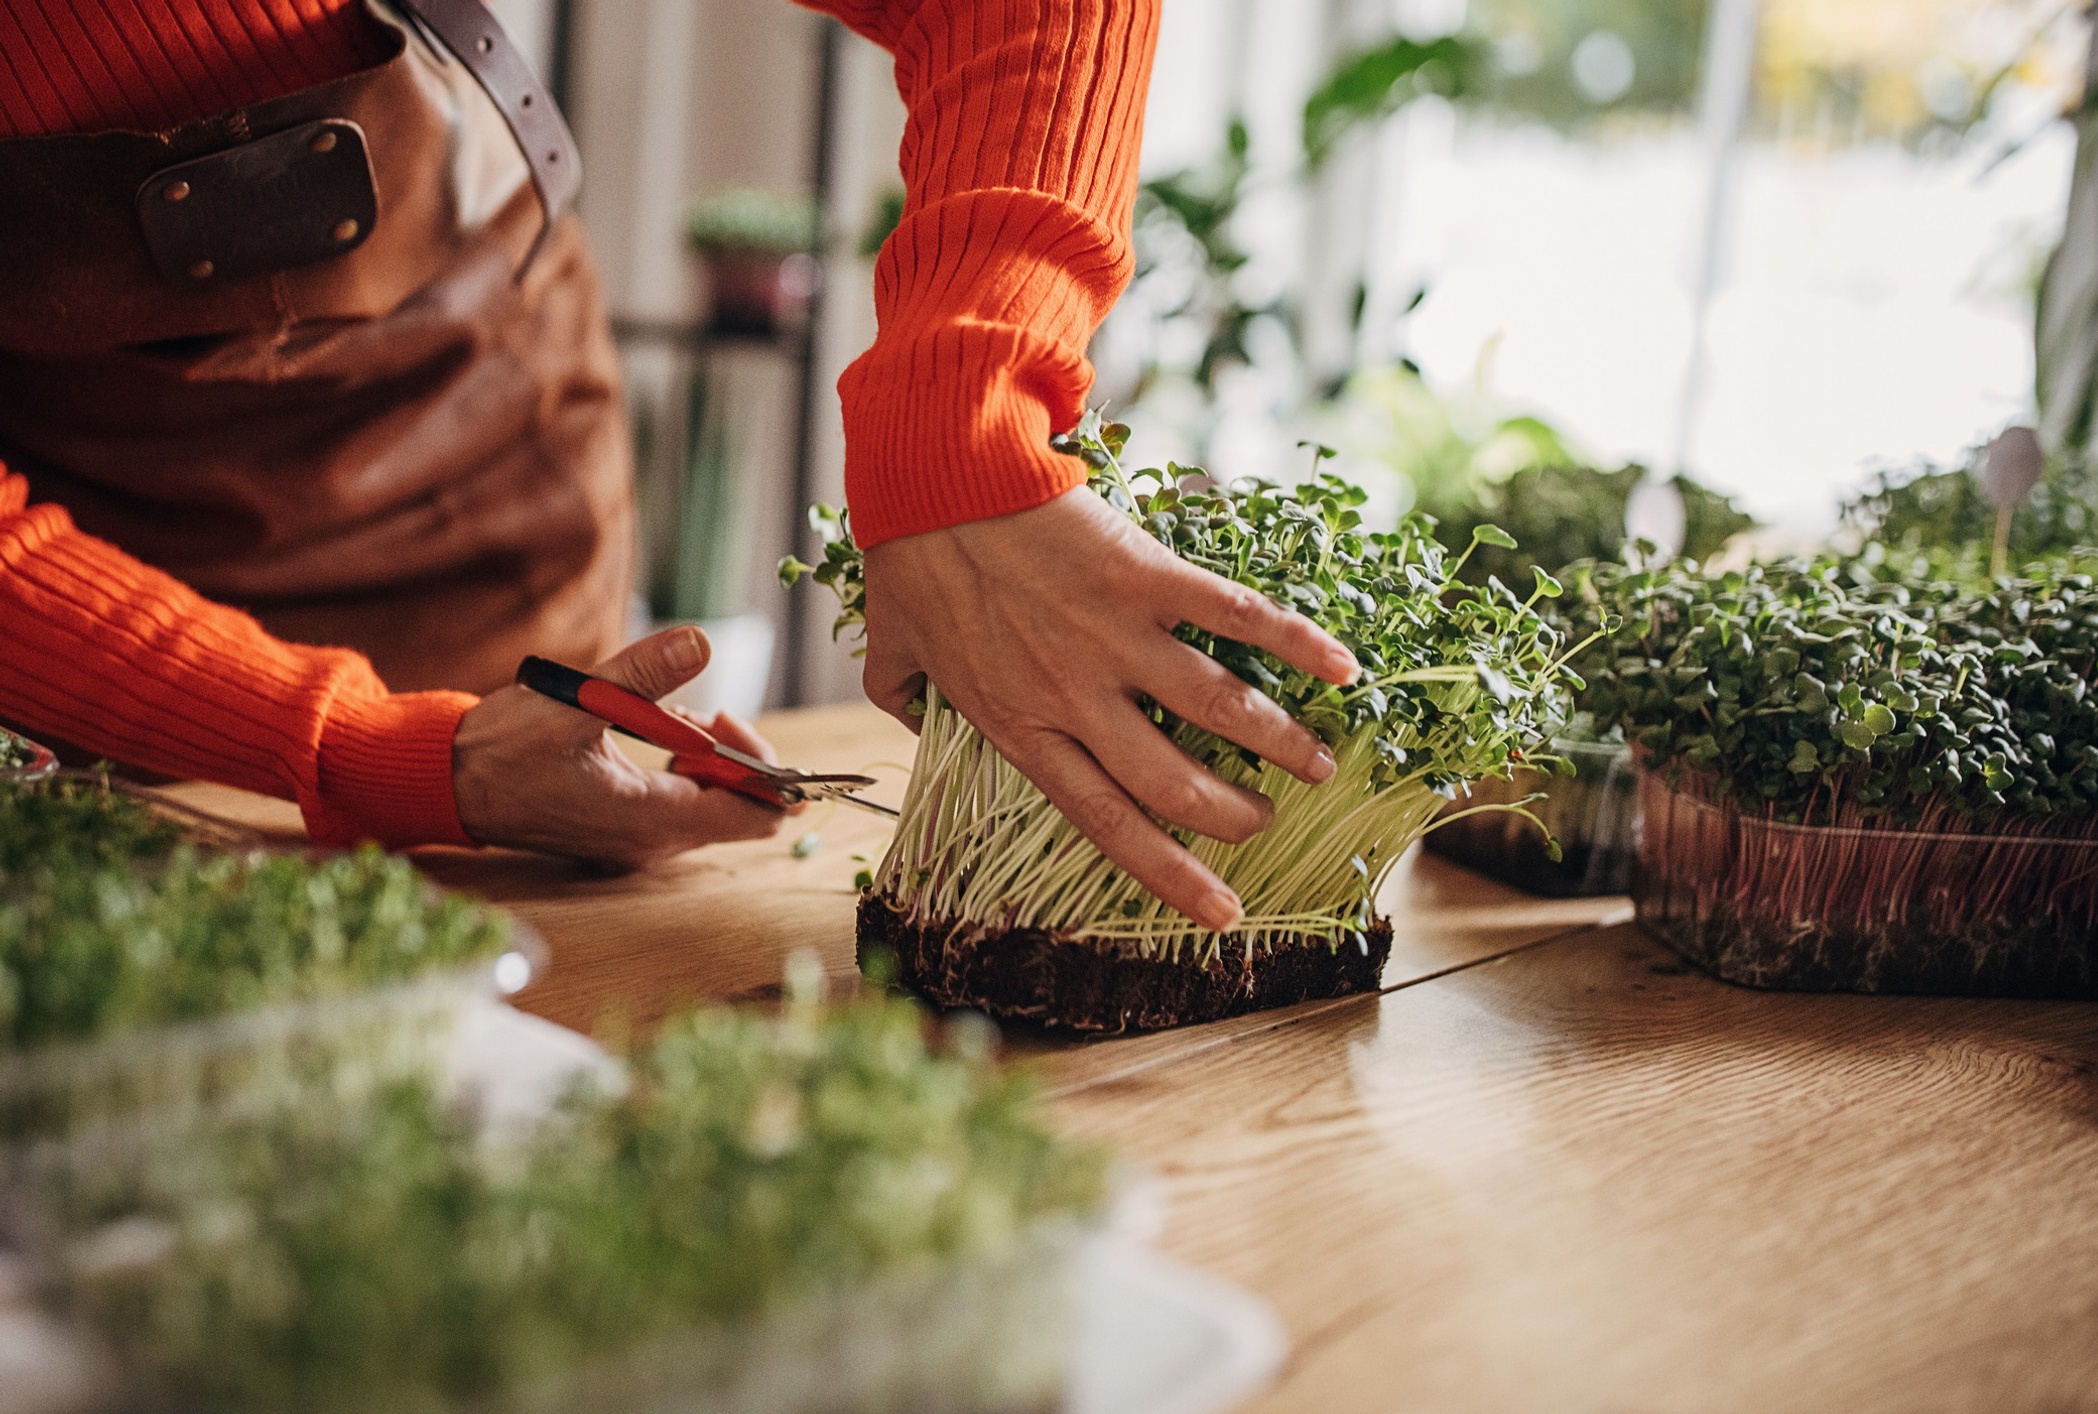
Most microgreens are ready between seven and 14 days depending on the variety, and you'll know it's harvest time when the first set of true leaves appears above the seed leaves. Grab a pair of clean scissors and snip just above the soil line, then rinse and spin them like any other greens. They don't regrow after cutting, so once a tray is done, it's done — but that's also the thing that keeps this hobby from spiraling into a full-scale indoor farm situation.
Keeping the Momentum Going
The easiest way to have a steady supply of microgreens on hand is to stagger your trays by planting a new one every five to seven days, and yes, you will absolutely start telling people about this new obsession of yours before anyone asks. Store harvested greens in the fridge wrapped in a slightly damp paper towel, and they'll hold for one to two weeks. At some point you'll reach the
inevitable moment where you're adding them to scrambled eggs one morning and wondering how your kitchen became this grown-up.
